This year I am really excited about fishing for Team Backpacker in the 2015 Ride 135 Air Max. I chose the new color "midnight" and I like it.
I've managed to take out the seat in my old ride a few times already and the air-max seat is worth the additional cost. It's like having a new kayak. Amazingly comfortable. Very high profile but the stability is still the same. I think the high back helps to maintain your center in the boat so in many ways it's more stable. Especially when accessing your fish bags which I had to do a lot on some recent trips.
The seat is it's own rigging platform starting with the rail track system I installed as per the directions mentioned in a previous re-blog
Then a new location for my drinks and sandwiches.

Which clears the way for this:
Also attached is a whistle for attention getting and emergencies (lanyard in first in this series of three.
This next is a series on attaching my Harmony anchor trolley. Great price for quality for this trolley. I put one on each side.
You will need some basic gear and a sharpee, rivets and gun, and an essential goop:


Then the rod holders. I'm still waiting on my final deliver from Scotty so I will have to update this section but I have a good bit on hand so here we go:

And honorable mention is the new footbraces - a great improvement. I'm waiting for the new rudder to come into mass production so I'll have an update with it and my rear rod-holders soon!

 |
| A few riggings already completed but I'll break them down as I go |
 |
| First change on every ride (except the x) is to improve the paddle keeper. |
 |
| figured I better put some fish in there to keep your attention! |
 |
| Little things like being able to clip things to the straps (pictured here is my fish grabbers) are so helpful |
Which clears the way for this:
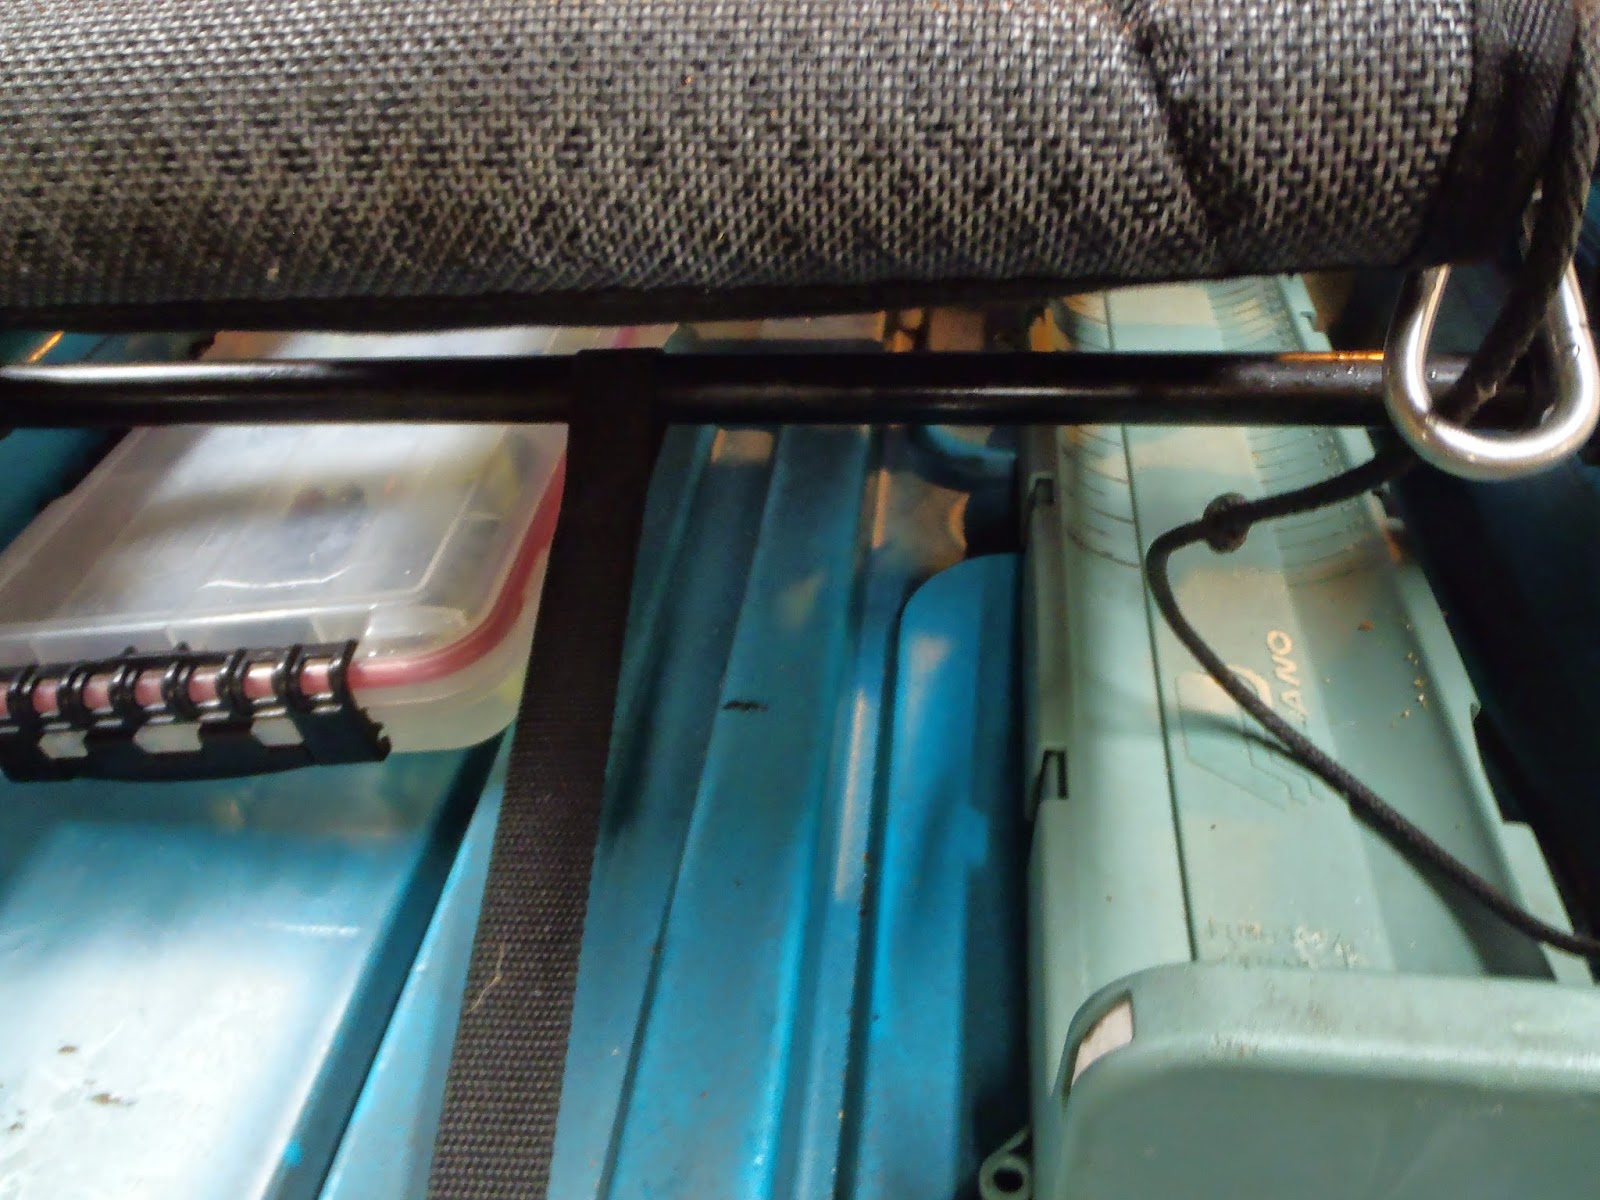 |
| A much cleaner deck puts these heavy use items right to hand under the seat. |
 |
| Also thanks to the rail mount system I have my light and my camera attached to the seat. |
 |
| convenient places for emergency gear |
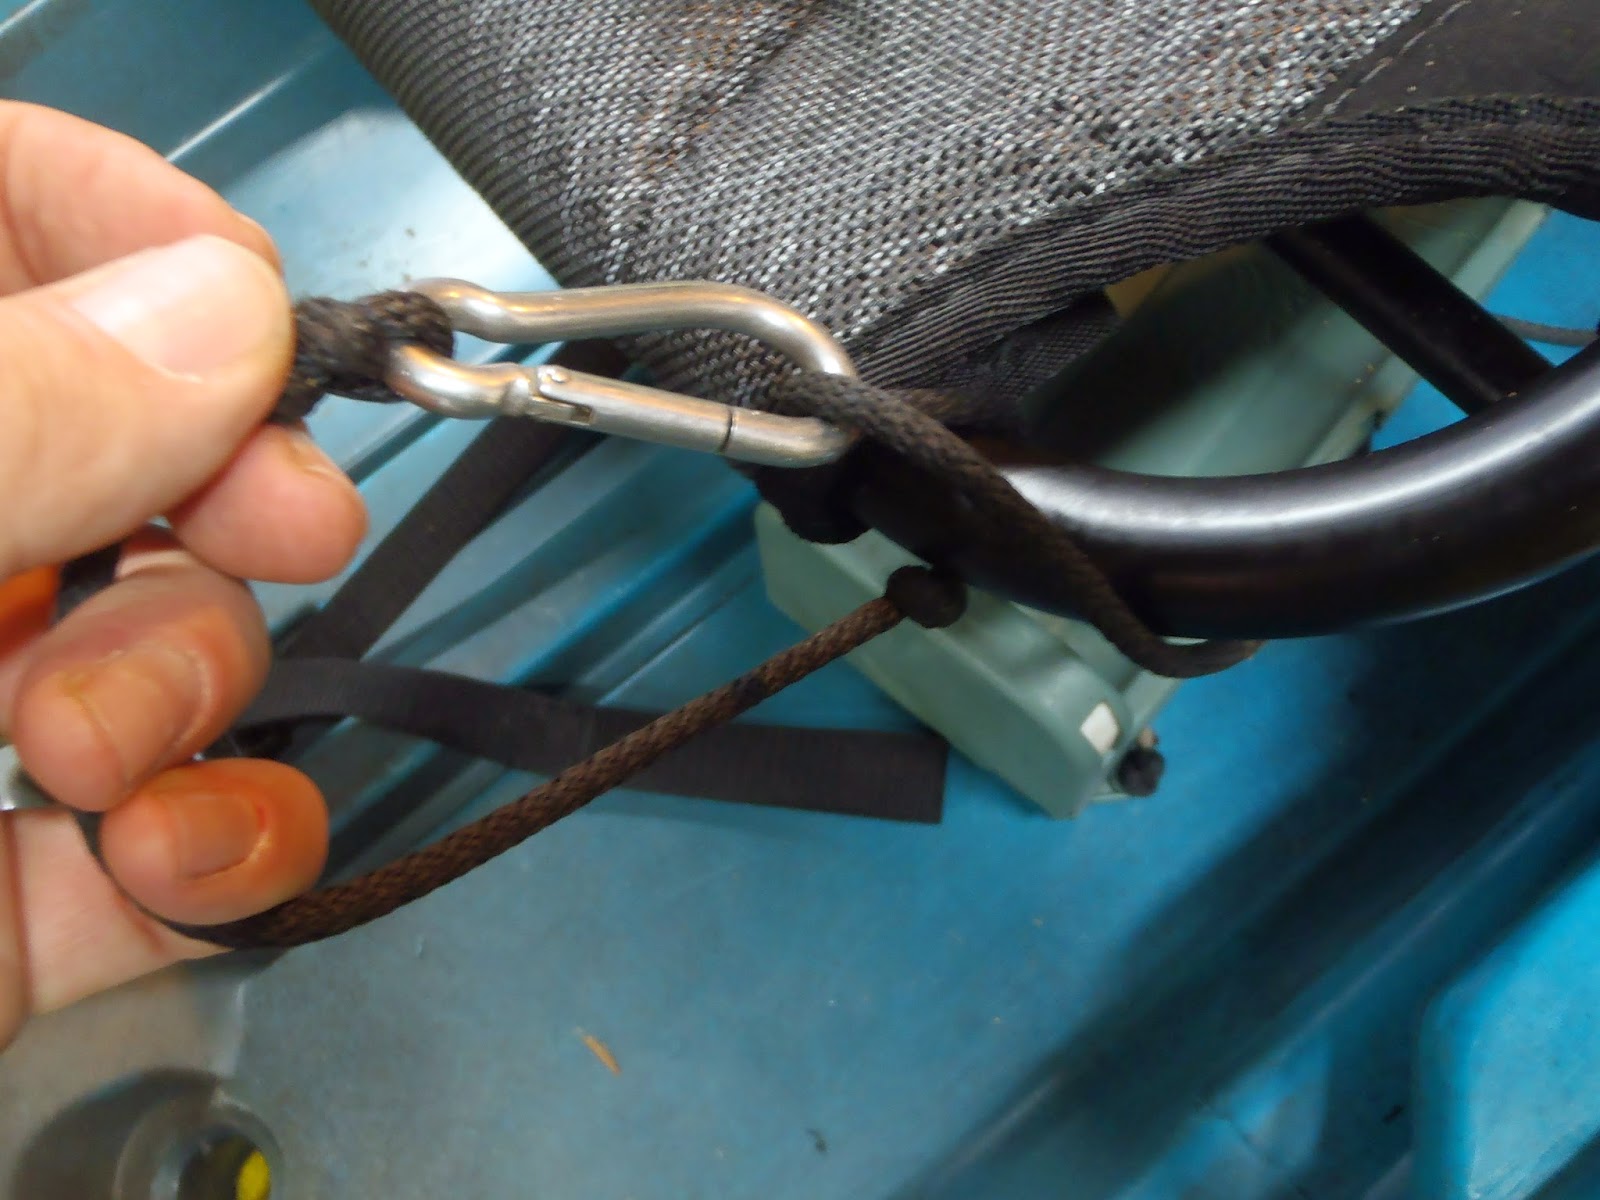 |
| Easy attache for leashes |
Also attached is a whistle for attention getting and emergencies (lanyard in first in this series of three.
This next is a series on attaching my Harmony anchor trolley. Great price for quality for this trolley. I put one on each side.
You will need some basic gear and a sharpee, rivets and gun, and an essential goop:
 |
| mark your spot drill your hole put your rivet in mark your second spot drill and then add good before you activate rivet. |
 |
| I run my trolley from the back of the rear label to the middle of the front hatch just below the seam. |
 |
| pulley goes on - ooops backwards |
 |
| like this |
 |
| Make sure your do your trolley ring like this (plastic or stainless rings trust me) keeps the system running tight. |
Then the rod holders. I'm still waiting on my final deliver from Scotty so I will have to update this section but I have a good bit on hand so here we go:
 |
| I tend to use rivets but when I can I attache with nuts and bolts (nylon thread) and a rubberized washer |
 |
| This is a new idea I hope it works out |
 |
| extenders help get me up over the hatch but keeps my go to rod close to hand for standing or sitting. |
 |
| notice gear head and standard scotty mount on the side track opposite side will have my reverse facing camera. With remotes I will be able to catch all the action for you. Even with all this gear on my seat I'm still feeling like it's a pretty clean space. |
 |
| I always add a pad eye here for my paddle leash. |
 |
| Got lazy here but had a few spare parts and made this quick paddle holder for when I'm sight fishing just a little something to keep that ultra light Oracle Paddle from rattling around so much. |
|
| Fish! |
No comments:
Post a Comment
Note: Only a member of this blog may post a comment.